Setting Up a Guest Wi-Fi Network on a Teltonika Router (RutOS)
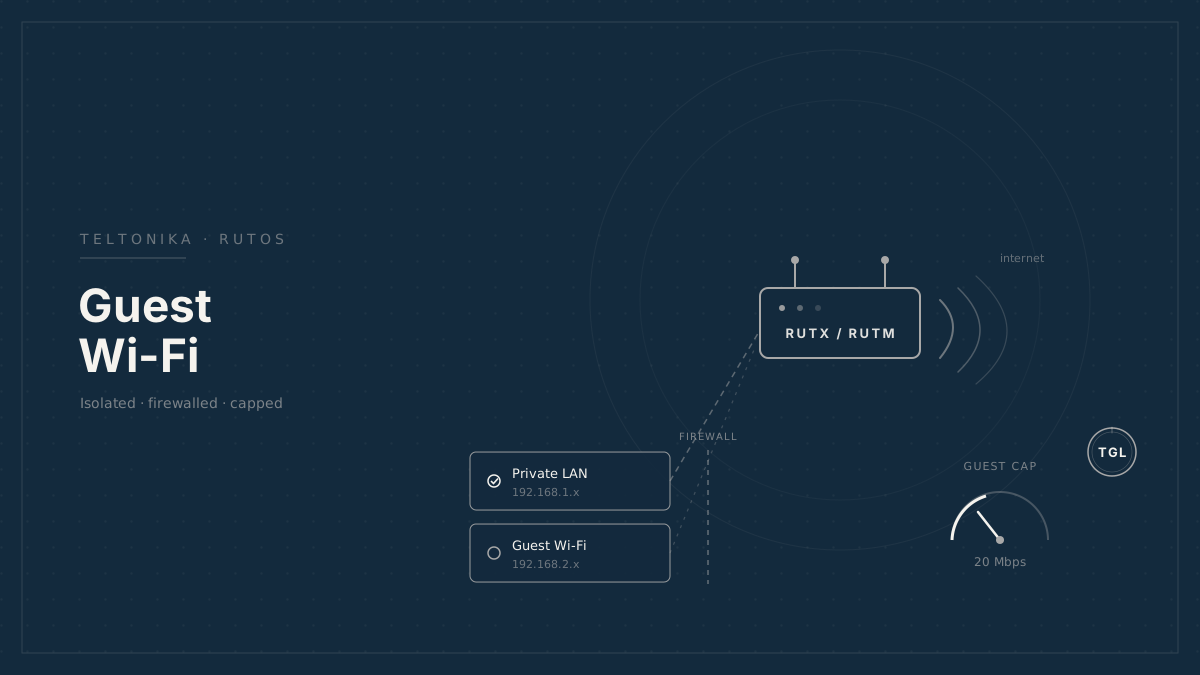
A step-by-step, GUI-only walkthrough for adding an isolated guest Wi-Fi network on a Teltonika RutOS router — a separate SSID and subnet, firewall rules that keep guests off your private LAN, and a bandwidth cap so guests can't swamp the connection.
A guest Wi-Fi network gives visitors internet access without handing them a seat on your private LAN. Done properly, guests land on their own subnet, are firewalled off from your internal devices, and are capped so a guest streaming 4K can’t starve your own traffic — which matters even more on a metered cellular uplink.
This guide sets all of that up on a Teltonika router running current RutOS firmware (7.x), using only the web interface. No SSH or command line required. It applies to the common RUTX, RUTM, and RUT9 families.
A note on menu labels: RutOS wording shifts slightly between firmware versions and hardware. If a menu name below doesn’t match yours exactly, look for the nearest equivalent — the structure (interface → SSID → firewall zone → QoS) is the same across versions.
What you’ll need#
- Admin access to the router’s web interface (usually
https://192.168.1.1). - Firmware reasonably up to date. Check under System → Firmware and update first if you’re several versions behind — menu paths in this guide assume RutOS 7.x.
- Five to ten minutes. You’ll briefly drop Wi-Fi when applying changes.
The plan#
A proper guest network is four pieces working together:
- A separate network interface — its own subnet and DHCP range, kept apart
from
lan. - A guest SSID — a new wireless network bound to that interface, with client isolation on.
- A firewall zone — allows guests out to the internet, blocks them from reaching your LAN and (mostly) the router itself.
- A bandwidth limit — a QoS cap so guests get a fair slice, not the whole pipe.
Set them up in that order.
Step 1 — Create a guest network interface#
Go to Network → Interfaces (labelled LAN in the menu on some builds) and add a new instance:
- Click Add (or Add New Instance). Name it
guest— keep it short and lowercase. - Protocol: Static address.
- IP address: pick a subnet that doesn’t overlap your LAN. If your LAN is
192.168.1.0/24, use192.168.2.1with netmask255.255.255.0. - Save.
Then open the new guest interface and enable its DHCP Server (there’s a
DHCP Server tab or section in the interface settings):
- Turn the DHCP server on so guest devices get an address automatically.
- The defaults (start
100, limit150, lease12h) are fine.
Save & apply. You now have an isolated address space; nothing is using it yet.
Step 2 — Add the guest SSID#
Go to Network → Wireless. You’ll see your radios (2.4 GHz, and 5 GHz if present). Add a new SSID:
- Click Add on the radio you want the guest network on. Putting it on 2.4 GHz gives better range for visitors; add it to both radios if you want full coverage.
- Mode: Access Point.
- SSID: the name guests will see, e.g.
Shop Guest. - Network: select the
guestinterface you made in Step 1. This is the critical link — it’s what puts guests on the separate subnet. - Encryption: WPA2-PSK, or WPA2/WPA3 mixed. Set a password. Even a guest network should have one — an open SSID is an open invitation.
- Save & apply.
Test that you can connect a phone to the new SSID and that it pulls an address
in the 192.168.2.x range.
Step 3 — Isolate guests from each other#
Still in the guest SSID’s settings, find Advanced Settings and enable Isolate Clients (sometimes shown as “AP Isolation”).
This stops guest devices from seeing each other over Wi-Fi — one visitor’s laptop can’t browse another visitor’s phone. Combined with the firewall zone in the next step (which walls guests off from your LAN), this gives you real separation, not just a different name on the network.
Save & apply.
Step 4 — Firewall: let guests out, keep them out of your LAN#
This is the step that makes it a guest network rather than just a second Wi-Fi name. Go to Network → Firewall → General Settings and find the Zones section.
Create a guest zone#
Add a new zone and configure it:
| Setting | Value | Why |
|---|---|---|
| Name | guest | |
| Input | Reject | Blocks guests from reaching the router’s own services (GUI, SSH) |
| Output | Accept | Router can reply outward |
| Forward | Reject | No forwarding between guest devices by default |
| Masquerading | Enabled | NAT so guest traffic can reach the internet |
| Covered networks | guest | Ties the zone to your Step 1 interface |
Allow guest → internet#
In the zone’s Inter-zone forwarding, allow forwarding from guest to
wan. Do not add a forward from guest to lan. That single omission is
what keeps visitors off your private network.
Allow DHCP and DNS from the router#
Because you set the zone’s Input to Reject, guests currently can’t even ask the router for an IP address or resolve domain names. Add two Traffic Rules (Network → Firewall → Traffic Rules) so those still work:
| Rule | Source zone | Protocol | Dest. port | Action |
|---|---|---|---|---|
| Allow-Guest-DHCP | guest | UDP | 67–68 | Accept |
| Allow-Guest-DNS | guest | TCP + UDP | 53 | Accept |
With these two rules, guests can get an address and browse, but the rest of the router’s services stay closed to them.
Save & apply, then reconnect a test device and confirm it still reaches the
internet and cannot open https://192.168.1.1 or ping a device on your LAN.
Sanity check: from a guest device, try to load the router’s admin page and try to reach a known LAN device (e.g. a printer at
192.168.1.x). Both should fail. Internet browsing should work. If a guest can reach your LAN, re-check that you did not create aguest → lanforward.
Step 5 — Cap the guest bandwidth#
Now stop guests from eating the whole connection. RutOS handles rate limiting through SQM QoS (Smart Queue Management). Go to Network → SQM QoS and add an instance:
- Enable the instance and set Interface to
guest. - Set the limits. On a LAN-side interface, “download” is traffic heading to
the guest devices and “upload” is traffic coming from them:
- Download speed: e.g.
20000kbit/s (20 Mbps) - Upload speed: e.g.
5000kbit/s (5 Mbps)
- Download speed: e.g.
- Queueing discipline:
cake(orfq_codelon older builds) with thepiece_of_cakescript keeps latency low under load. - Save & apply.
Pick numbers that leave headroom for your own use. On a cellular uplink, a modest guest cap — say 10–20 Mbps down — protects both your speed and your data plan, since guests can’t run the meter at full tilt.
| Uplink | Suggested guest cap (down / up) |
|---|---|
| Cellular / LTE, metered | 10 / 3 Mbps |
| Cellular / 5G, generous plan | 25 / 10 Mbps |
| Fixed broadband | 30–50% of your line |
Verify the cap: connect a device to the guest SSID and run a speed test. It should top out near your configured limit, not your full line speed. Then test again on your main SSID to confirm it is unaffected.
Step 6 — Final check#
Run through this quick list from a device on the guest SSID:
- ✅ Gets an IP in the guest subnet (
192.168.2.x). - ✅ Can browse the internet.
- ✅ Cannot open the router admin page.
- ✅ Cannot reach devices on your private LAN.
- ✅ Speed test tops out at your configured cap.
If all five hold, your guest network is properly isolated, firewalled, and rate limited.
Optional hardening#
Worth considering depending on how public the network is:
- Schedule it. Under the wireless SSID settings you can attach a WiFi schedule so the guest network is only up during business hours.
- Rotate the password. Change the guest passphrase periodically; it’s the one credential you hand out freely.
- Hide vs. broadcast. Hiding the SSID adds friction, not security — for a true guest network, leaving it visible with a good WPA2/WPA3 password is usually the better trade-off.
- Client limits. If the router supports a maximum-associations setting on the SSID, cap it so a crowd can’t exhaust DHCP or airtime.
That’s the whole picture: a separate subnet (Step 1), its own SSID with client isolation (Steps 2–3), a firewall zone that lets guests out but not in (Step 4), and a QoS cap that keeps them from swamping the line (Step 5). Everything above is reversible from the same menus — delete the SSID, interface, zone, and SQM instance to roll it back.