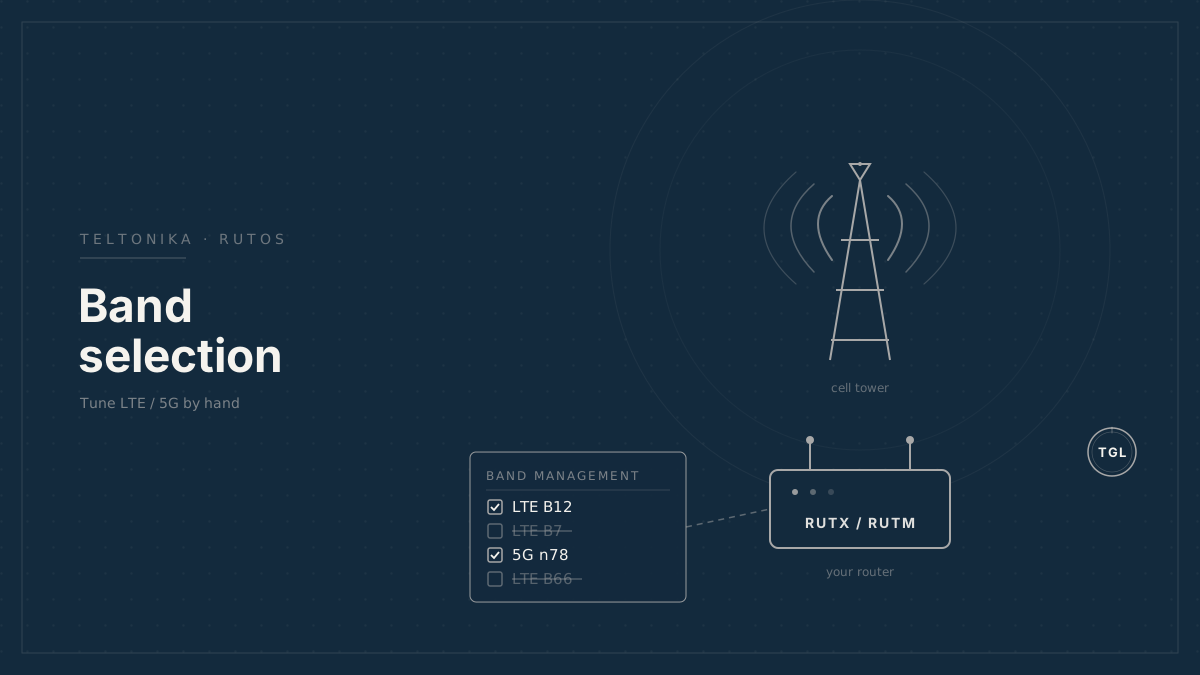
Improving LTE/5G Performance with Manual Band Selection on Teltonika Routers
When a Teltonika RUTM50 or RUTX11 picks a poor LTE/5G band on its own, locking out problem bands one at a time can noticeably improve speed and stability at a fixed location. A step-by-step method using the RutOS web interface.
Teltonika routers such as the RUTM50 (5G) and RUTX11 (LTE Cat 6) choose which cellular band to use automatically. Most of the time that works fine. But the band the router picks is not always the band that gives you the best real-world speed — a closer or busier tower on one band can win out over a quieter, faster tower on another.
When you are going to stay in one place for a while — parked at a site, docked, or set up for the season — it is worth checking whether a different band performs better, and locking the router onto it. This guide walks through a simple, repeatable way to do that from the router’s web interface, with no command line required.
Before you start: This technique is for stationary use. When you start moving again, re-enable all bands so the router can roam freely. A router locked to one band can lose signal entirely as you travel out of that band’s coverage.
What you’ll need#
- Access to the router’s web interface (usually
https://192.168.1.1) and the admin password. - A device connected to the router (laptop or phone) to run speed tests from.
- 15–20 minutes of relatively stable conditions (weather and network load affect the numbers, so test back-to-back).
Step 1 — Check the current band and signal#
In the RutOS web interface, go to Status → Network → Mobile. This page shows the live connection, including:
- Connected band — e.g.
LTE B7or5G n78. Write this down. - RSRP, RSRQ, SINR, RSSI — the signal metrics. Note these too.
These are your starting numbers. If you’re not sure what they mean, see the companion guide, Understanding Cellular Radio Metrics — in short, RSRP tells you how strong the signal is and SINR is the best predictor of speed.
Step 2 — Run a baseline speed test#
From a connected laptop or phone, run a speed test two or three times and record the average download and upload. Use whatever you trust — speedtest.net, fast.com, or the Teltonika RMS speed test if you use RMS.
Running it a few times matters: cellular speeds bounce around, so a single test can mislead you.
Step 3 — Disable the current band#
Go to Network → Mobile → Band Management (on some firmware versions this is a tab within Network → Mobile). You’ll see the list of LTE and 5G NR bands the router supports, each with a checkbox.
- Uncheck only the band you are currently using (the one you noted in Step 1). Leave all the others enabled.
- Save / apply.
The router will drop the connection and reconnect — this takes 30–60 seconds. Because the band it was on is now unavailable, it is forced to pick a different one.
Keep at least one strong band enabled at all times. If you ever lose signal completely, re-enable everything to recover, then try again.
Step 4 — Re-check and re-test#
Once the connection is back:
- Return to Status → Network → Mobile and note the new connected band and its RSRP / RSRQ / SINR / RSSI.
- Run the same speed test two or three times and record the average.
Step 5 — Compare, then repeat#
You now have two data points. Compare download/upload speed and the signal metrics (especially SINR — it tracks usable speed most closely).
-
If the new band is clearly better, you can leave that band’s competitor disabled.
-
To test a third option, disable the band you’re now on as well, and re-test.
-
Keep a short note like this as you go:
Band RSRP RSRQ SINR Down UpLTE B7 -88 -11 14 42 Mb 12 Mb (auto pick)LTE B12 -95 -9 22 78 Mb 18 Mb ← keeper5G n78 -91 -12 9 31 Mb 8 Mb
Step 6 — Lock in the winner#
Once you’ve found the band that performs best, set the band list so only the good band (or bands) you want are enabled and save. The router will now stay on your chosen band(s) for as long as you’re parked here.
When you move on, go back to Network → Mobile → Band Management and re-enable all bands.
For a plain-language explanation of the RSRP, RSRQ, SINR, and RSSI numbers you’ve been recording — and the rough thresholds for “good” versus “poor” — see the companion guide: Understanding Cellular Radio Metrics.